Shooting Time Lapse Photography: A Comprehensive Guide
Shooting time lapse photography is an innovative and dynamic way to capture the passage of time and transform everyday processes into visual masterpieces. In this guide, we will delve deep into the techniques, best practices, and incredible applications of time lapse photography, particularly focusing on fields such as real estate, where it can significantly enhance property showcases.
Understanding Time Lapse Photography
Time lapse photography involves taking a series of photographs at set intervals, which are then played back at a higher speed. This creates the illusion of time moving more quickly, showcasing everything from slow-moving clouds to bustling cityscapes in a matter of seconds. It is a technique common in both amateur and professional photography, appealing to a broad audience with its unique perspective on the world around us.
Why Choose Time Lapse Photography?
There are several compelling reasons to consider shooting time lapse photography:
- Visual Storytelling: Time lapse offers a narrative style that captures change over time, ideal for telling compelling stories.
- Highlighting Processes: It effectively showcases lengthy processes (like construction or natural growth) in a digestible format.
- Enhanced Engagement: Time-lapse videos are visually engaging and can captivate an audience's attention more than traditional videos.
- In Demand: Many industries, including real estate, utilize time lapse photography for promotional materials, making it a sought-after skill.
Getting Started with Time Lapse Photography
To successfully master the art of shooting time lapse photography, follow these essential steps:
1. Choose the Right Equipment
Investing in the right equipment is crucial. Here are some recommendations:
- Camera: A DSLR or mirrorless camera is ideal for high-quality images.
- Intervalometer: This device allows you to set the intervals at which your camera snaps photos automatically.
- Tripod: A sturdy tripod is essential to avoid camera shake during long shoots.
- Editing Software: Use powerful editing software like Adobe Premiere Pro or After Effects for the final compilation of images into a video.
2. Selecting Your Subject and Location
Choose intriguing subjects that show noticeable changes over time. Popular subjects include:
- Nature scenes (like flowers blooming or sunsets).
- Construction projects (showcasing building progress).
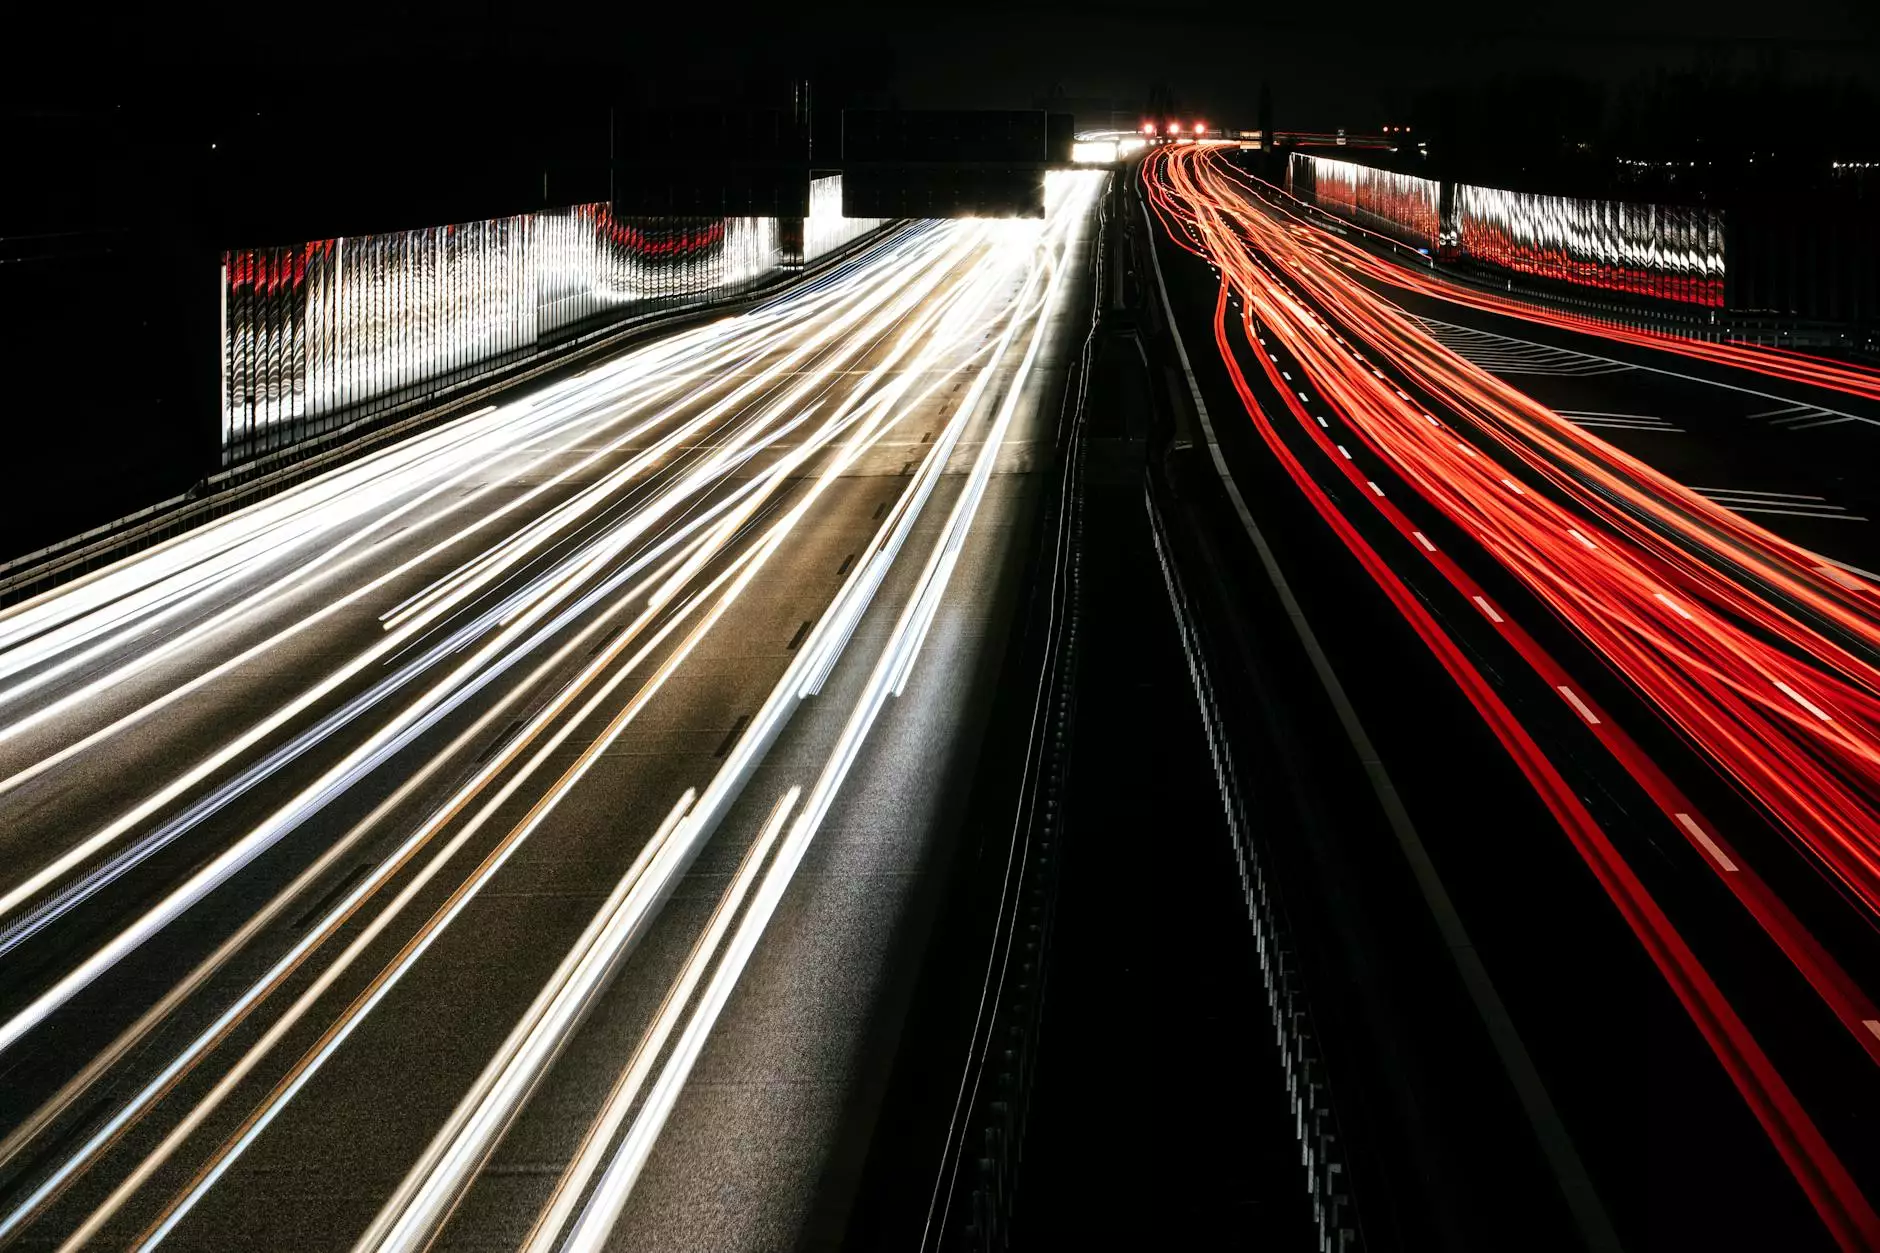
- Urban environments (such as traffic in busy streets).
Consider your location; make sure it is safe and accessible throughout the duration of your shoot.
3. Planning Your Shoot
Take time to plan your shoot meticulously:
- Duration: Determine how long the event will last and the shooting duration.
- Interval Settings: Choose an interval that captures the essence of the movement without missing details.
- Lighting Conditions: Be aware of how changing light will affect your images during the shoot.
4. Shooting Techniques
Here are some tips to enhance your shooting process:
- Manual Settings: Utilize manual focus and exposure settings to maintain consistency throughout the shoot.
- White Balance: Set a fixed white balance to prevent color shifts during your shooting session.
- Test Shots: Conduct initial test shots to ensure every setting is perfect before starting the full shoot.
Post-Production: Bringing Your Time Lapse to Life
Once you have captured your images, it's time for the exciting part—bringing them to life through editing. Here are key steps in the post-production process:
1. Organizing Your Images
After your shoot, import your images into your editing software. Organize them sequentially to maintain the chronological flow of events.
2. Compiling Your Time Lapse
Create a new project in your editing software and import your images. Adjust the frame rate to determine how smooth your time lapse will look. Common frame rates range from 24 to 30 frames per second (fps).
3. Adding Audio and Effects
A well-crafted audio track can enhance the viewing experience significantly. Choose music or sounds that complement your visuals. Effects such as fades or transitions can also add a professional touch.
4. Exporting Your Final Project
Choose the appropriate format for your video export, considering where you will showcase it (social media, websites, etc.). Ensure you export at a high resolution for the best quality.
Using Time Lapse in Real Estate Photography
The significance of shooting time lapse photography is particularly evident in the realm of real estate. Here are specific benefits:
1. Showcasing Property Development
Time lapse photography offers a unique way to showcase the development process of new construction. As potential buyers gain insight into the construction timeline, it builds trust and transparency.
2. Highlighting Neighborhood Changes
Real estate agents can utilize time lapse to illustrate changes in neighborhoods over time, showcasing growth, new amenities, and developments, enhancing the allure of properties in emerging areas.
3. Enhancing Marketability
Videos featuring time lapse photography create visually compelling content that can be shared on various platforms, increasing a listing's visibility and marketability.
Conclusion
In conclusion, *shooting time lapse photography* is a captivating method that can transform the way you tell stories and showcase processes. Whether you are a budding photographer or a seasoned professional, honing this skill will undoubtedly enhance your visual repertoire. With the right techniques, tools, and creativity, you can bring to life stunning visuals that resonate with audiences and elevate your business profile, especially in competitive fields like real estate.
Get Started with Time Lapse Photography!
If you are ready to take your photography to the next level, consider visiting bonomotion.com for professional services and tips on how to effectively implement time lapse photography into your projects.